Disclaimer: AI was only used to generate a title. Article was written without using AI.
Once upon a time
In a previous life, I used to be a photographer. A proper commercial photographer, providing paid services. Today, I was going through my old photo archives and realized that there are many photos in there that are unusable because they are way too underexposed. I wanted to remove those photos from the archive so that I could use that storage for a better purpose.
Below are some snaps from my old archive.
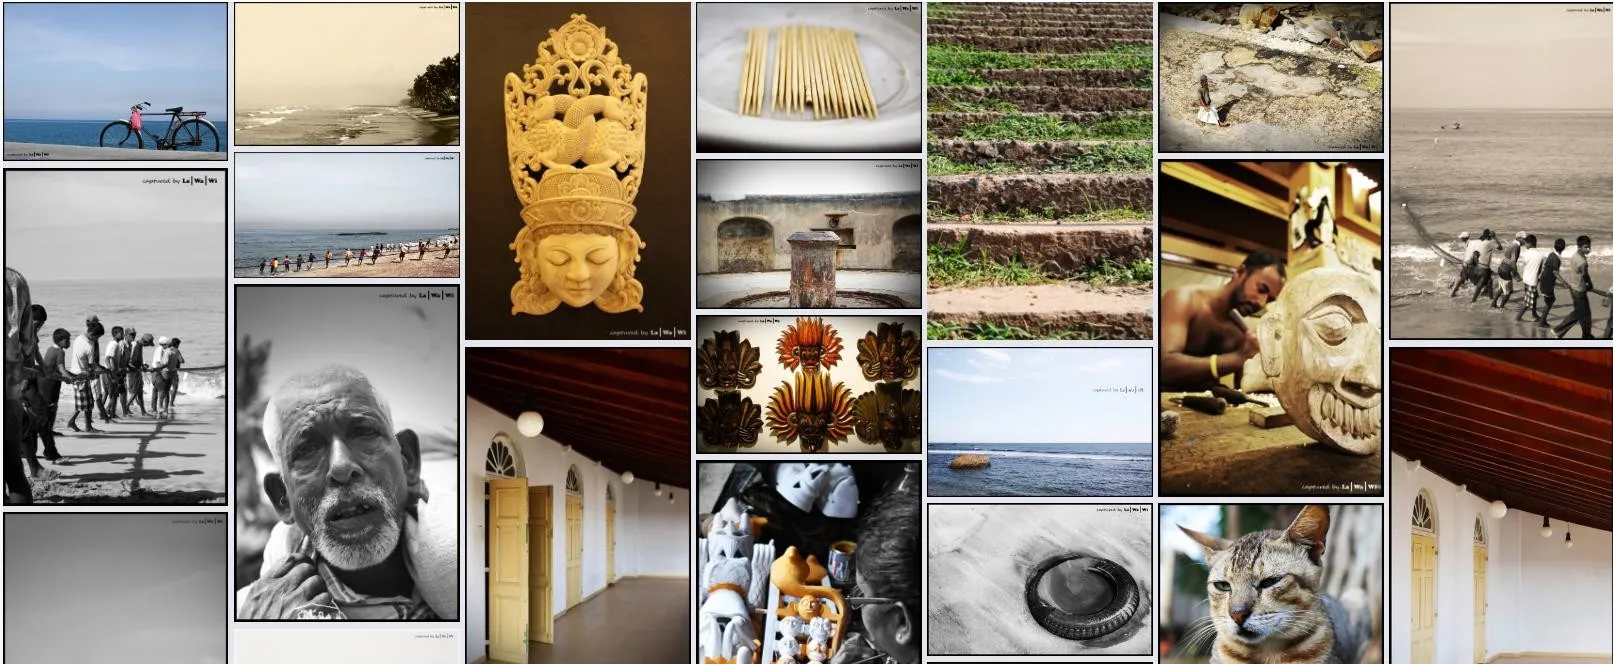
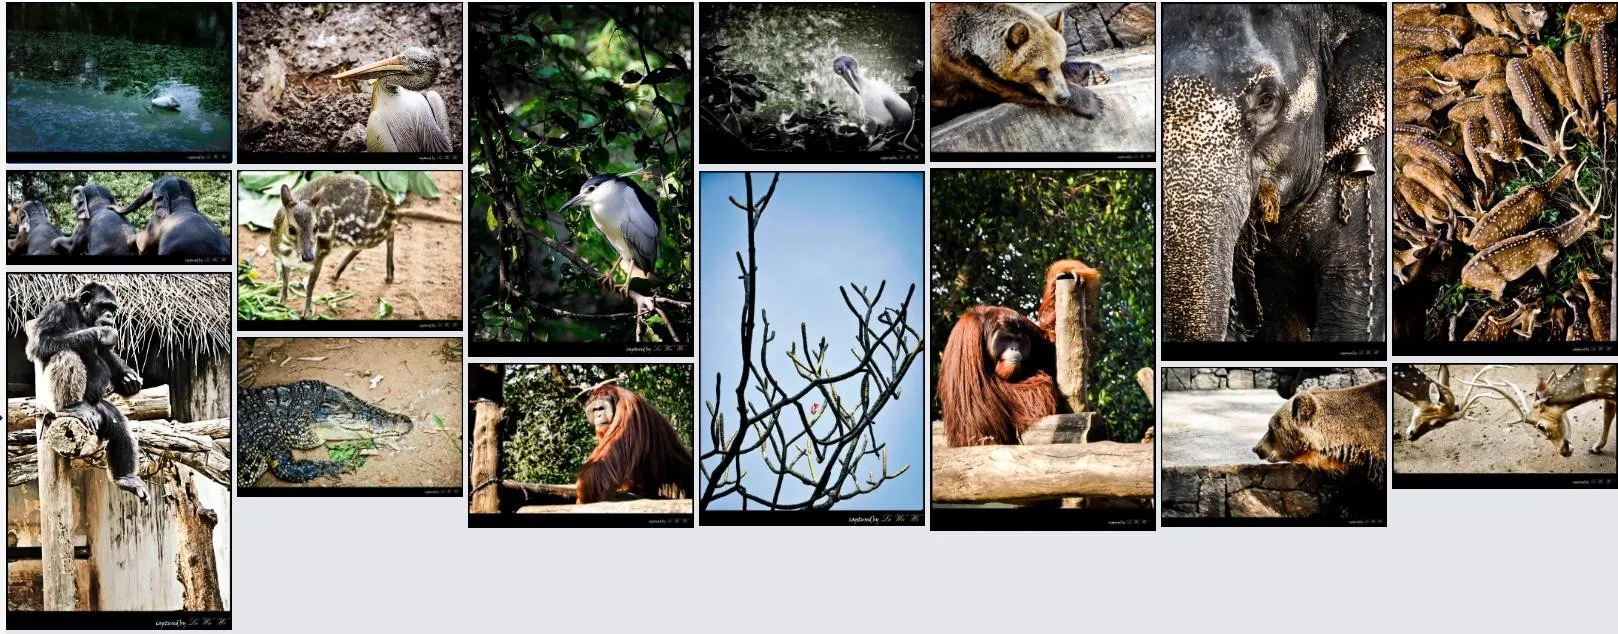
To remove these photos, I could have gone through the folders and removed them one by one if it was only a couple of photos. However, the archive had thousands of photos and many folders, and this could have taken me a lot of time.
Hello Chat GPT?
Chat GPT has already become an integral part of my day-to-day life. So I turned to my good friend, ChatGPT, to propose me an easier method to do it. As expected, it proposed me a much easier way to do that. Instead of hours, the whole process took me less than 20 minutes, including the deletion.
What Chat GPT proposed was to run a python script. One would think, that I was able to do it because I knew programming. However, when you read the script that I’ve attached at the end of this article, you will see that someone who doesn’t have any knowledge about programming could have achieved the same result as me, within the same timeframe, following the exact steps. Only caveat to this is, you should get Chat GPT itself to explain the steps in the scripts and then once you understand it, you should use it. I wouldn’t recommend someone to run any script that they don’t understand because the results might be irreversible.
This process not only saved me time and effort, but it also produced more accurate results than if I had done it manually. I thought this was a perfect example of how we can benefit from AI in our day-to-day life and wanted to share it with the community.
Better safe than sorry
The first thing I did was to create a test folder and copy a mix of photos, both good ones and dark ones, into that folder. This way, I didn’t have to spend hours recovering data from one of my backups if the script did something unexpected.
Let’s get to work
Below is the summary of my conversation with Chat GPT
Instruction 1: I need to remove all fully black images from a folder. What’s the easiest way to automatically do this?
Result: It gave me a Python script that used an image processing library. However, I realized that I hadn’t installed the library on my system, and it gave me an error.
Instruction 2: How do I install the required library?
Result: ChatGPT instructed me on how to install the library, and I installed it and ran the script again. However, it was still giving me an error that it couldn’t find the path. I knew it was because of how Windows handles file paths.
Instruction 3: How do I give the folder path on Windows?
Result: ChatGPT told me how to give the path with raw strings, and I adjusted the path and ran the script again. The script ran without errors. However, it wasn’t removing any images because it was only looking for black images, and I had instructed it to remove fully black images.
Instruction 4: The image is not completely black. It is dark grey. I need to remove all dark grey images.
Result: ChatGPT introduced a threshold variable into the script, so that I could change the darkness threshold myself. When I adjusted the threshold, it worked perfectly. Now, I wanted it to do it recursively, including subfolders.
Instruction 5: How do I do this recursively inside a folder, including subfolders?
Result: ChatGPT adjusted the script, and I ran it. Voila! The job was done in five steps, and I removed all my dark images from my archive within 10-15 minutes. It’s now a reusable script that I will be using in the future.
Voila! Job done. I’ve removed all of my dark images from my archive in just five simple steps, and it only took me 10-15 minutes. Best of all, it’s now a reusable script that I can use in the future.
Last but not least, I used Chat GPT again to create a nice title for my article. :)
I wrote a linkedin article about how chat GPT saved me hours today. Below is the article. Can you propose me a catchy short title and the share message for it. :
TL;DR
For anyone who’s interested, below, I am sharing the full chat script so that you can understand how it all went:
Me:
need to remove all fully black images from a folder. Whats the easiest way to automatically do this
Chat GPT:
The easiest way to automatically remove all full black images from a folder is to use a script or a command-line tool that can scan the folder for image files and delete the ones that are completely black.
Here’s an example Python script that uses the Pillow library to check if an image is completely black and delete it if it is:
from PIL import Imag
import os


folder_path = "path/to/folder"


for filename in os.listdir(folder_path):
    filepath = os.path.join(folder_path, filename)
    try:
        with Image.open(filepath) as img:
            if img.mode == "L":
                # Check if the image is completely black
                if img.getextrema() == (0, 0):
                    os.remove(filepath)
            elif img.mode == "RGB":
                # Check if all pixels are black
                if all(pixel == (0, 0, 0) for pixel in img.getdata()):
                    os.remove(filepath)
    except IOError:
        pass
Me:
ERROR: No matching distribution found for PIL
Chat GPT:
If you received the “No matching distribution found for PIL” error message while trying to install the Pillow library using pip, it may be because you are using a version of pip that is outdated or incompatible with your Python environment.
You can try upgrading pip to the latest version using the following command:
pip install --upgrade pip
After upgrading pip, try installing Pillow again using the following command:
pip install pillow
Me:
how to give the folder_path in windows
Chat GPT:
In Windows, the folder path is typically represented using backslashes (\) instead of forward slashes (/). To give the folder path in Python on Windows, you can use one of the following formats:
- Use double backslashes to escape the backslashes in the path:
folder_path = "C:\\path\\to\\folder"
- Use a raw string by prefixing the path with the letter r:
folder_path = r"C:\path\to\folder"
Both of these formats should work in Python on Windows. Just replace C:\path\to\folder with the actual path to the folder that you want to use in your script.
Me:
The image is not completely back. It is dark grey. I need to remove all dark grey images
Chat GPT:
To remove all dark gray images instead of completely black images, you can modify the Python script I provided earlier to check for a range of pixel values instead of just a single value.
Here’s an updated Python script that checks for dark gray images:
from PIL import Image
import os


folder_path = "path/to/folder"
threshold = 50  # Change this to adjust the darkness threshold


for filename in os.listdir(folder_path):
    filepath = os.path.join(folder_path, filename)
    try:
        with Image.open(filepath) as img:
            # Convert the image to grayscale
            gray_img = img.convert("L")
            # Check if the mean pixel value is below the threshold
            if sum(gray_img.getdata()) / len(gray_img.getdata()) < threshold:
                os.remove(filepath)
    except IOError:
        pass
In this updated script, the threshold variable is set to 50 by default, but you can adjust this value to make the script more or less strict in what it considers to be a “dark gray” image. The script converts each image to grayscale and then checks if the mean pixel value of the grayscale image is below the threshold. If it is, the script deletes the file.
Note that the convert() method call in the script converts the image to grayscale. If your images are already in grayscale format, you can skip this step and use the getdata() method directly on the original image object instead of the gray_img object.
Me:
need to do this recursively inside a folder including subfolders
Chat GPT:
To modify the script to delete dark gray images recursively inside a folder and its subfolders, you can use the os.walk() function to traverse the directory tree and process each file in the tree.
Here’s an updated Python script that recursively deletes dark gray images in a folder and its subfolders:
from PIL import Image
import os


folder_path = "path/to/folder"
threshold = 50  # Change this to adjust the darkness threshold


for root, dirs, files in os.walk(folder_path):
    for filename in files:
        filepath = os.path.join(root, filename)
        try:
            with Image.open(filepath) as img:
                # Convert the image to grayscale
                gray_img = img.convert("L")
                # Check if the mean pixel value is below the threshold
                if sum(gray_img.getdata()) / len(gray_img.getdata()) < threshold:
                    os.remove(filepath)
        except IOError:
            pass
In this updated script, the os.walk() function is used to traverse the directory tree starting at folder_path. For each file found in the tree, the script checks if the file is a dark gray image and deletes it if it is.
Note that this script uses the same threshold and image processing logic as the previous script, so you can adjust the threshold value to make the script more or less strict in what it considers to be a “dark gray” image.
Me:
Can you make it more verbose. Print everyfile name that it looks and mention the ones deleted.
Chat GPT:
Sure! Here’s an updated Python script that prints the name of each file it looks at and reports the names of any dark gray images that it deletes:
from PIL import Image
import os


folder_path = "path/to/folder"
threshold = 50  # Change this to adjust the darkness threshold


for root, dirs, files in os.walk(folder_path):
    for filename in files:
        filepath = os.path.join(root, filename)
        try:
            with Image.open(filepath) as img:
                # Convert the image to grayscale
                gray_img = img.convert("L")
                # Check if the mean pixel value is below the threshold
                if sum(gray_img.getdata()) / len(gray_img.getdata()) < threshold:
                    os.remove(filepath)
                    print(f"Deleted dark gray image: {filepath}")
                else:
                    print(f"Processed file: {filepath}")
        except IOError:
            print(f"Error processing file: {filepath}")
In this updated script, each file that is processed is printed to the console, along with an indication of whether it was deleted or not. If a dark gray image is deleted, the script prints the filepath to the console. If an error occurs while processing a file, the script prints an error message to the console.
Note that the f”“ notation is used to format the filepath strings and include the variable values in the output.
Me:
That script works great. Finally can you explain what the script does line by line
Chat GPT:
It gave me a detailed explanation for each line of the script.
First published on LinkedIn.